A buildup of oils and coffee residue in the grinder can alter the taste of your brew over time. In this article, we will go through a step-by-step guide on how to clean a burr coffee grinder and keep it in top shape.
Burr coffee grinders require regular cleaning to keep them in good working order. A dirty grinder can cause coffee to go stale and taste terrible.
Cleaning Your Burr Grinder
Although cleaning a burr coffee grinder may appear complicated initially, all it takes is a few everyday household items and a little time and effort to finish the job.
Safety First
It is crucial to take safety measures before beginning to clean your burr coffee grinder. Before handling the grinder, ensure it is unplugged and cooled down. Also, be careful when handling the sharp burrs to avoid cuts or injuries.
Gathering Supplies
To clean your burr coffee grinder, you will need a few basic tools, such as a brush, a microfiber cloth, and a vacuum cleaner. You can also use a grinder cleaning tablet, rice, or bread to absorb any oils or coffee residue.
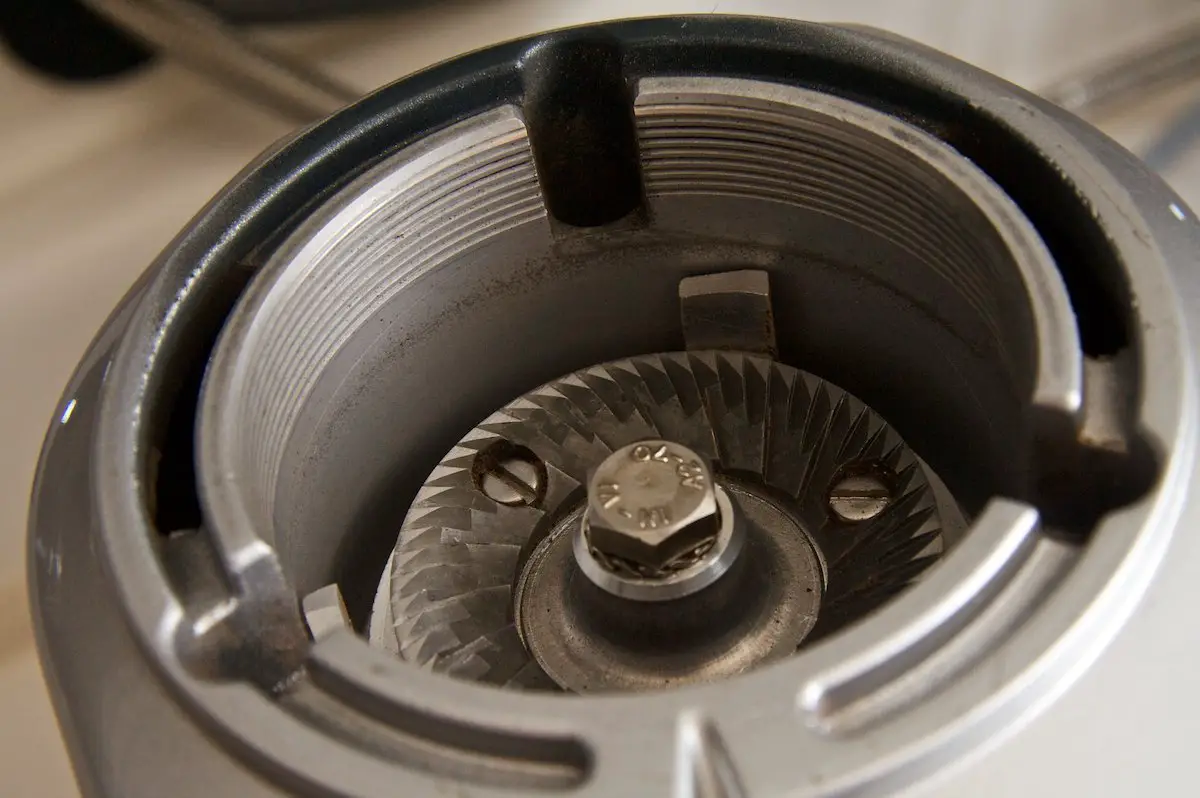
Removing the Hopper and Burrs
The first step in cleaning a burr coffee grinder is to remove the hopper and burrs. To do this, you need to locate the screws that hold the hopper in place and unscrew them using a screwdriver.
Once the screws are removed, gently lift the hopper and set it aside. Then, remove the burrs by twisting them counterclockwise and lifting them from the grinder.
Cleaning the Hopper and Burrs
After removing the hopper and burrs, use a brush to clean any coffee residue or oils on the hopper and burrs. You can also use a microfiber cloth to wipe them clean. To deep clean the burrs, you can use a vacuum cleaner to remove any stuck particles.
Alternatively, you can soak the burrs in a mixture of water and dish soap for a few minutes, then rinse and dry them thoroughly.
To clean the burrs:
- Remove the burrs from the grinder and place them on a damp cloth.
- Use a second damp cloth to wipe down the inside of the grinder where the burrs were located.
- Use a dry cloth to wipe both sides of the burrs until completely dry.
- Replace the clean, dry burrs back into the grinder.
Cleaning the Grinder’s Exterior
Use a microfiber cloth to wipe down the exterior of the coffee grinder. You can also use a mild detergent to remove any stubborn stains or grease.
Avoid using harsh chemicals or abrasive cleaners that can damage the grinder’s finish.
Reassembling the Grinder
After cleaning all the parts, it’s time to reassemble the grinder. Start by placing the burrs back in place, then carefully screw the hopper back onto the grinder.
Make sure that all screws are tightened, and the hopper is firmly in place.
Testing the Grinder
After reassembling the grinder, test it to ensure that it works properly. Check that the grinder is grinding evenly and producing the correct grind size by running a small amount of coffee beans through it. It is recommended to clean your burr grinder often to keep it in optimum working condition.
If the grind is uneven or the beans become stuck, it’s a sign that your grinder needs to be serviced. Continue experimenting until you’ve found the perfect grind for your coffee.