As a society, we have come to recognize the significance of a good morning coffee. Did you know that a well-maintained coffee machine can make the first few minutes of your day more pleasant?
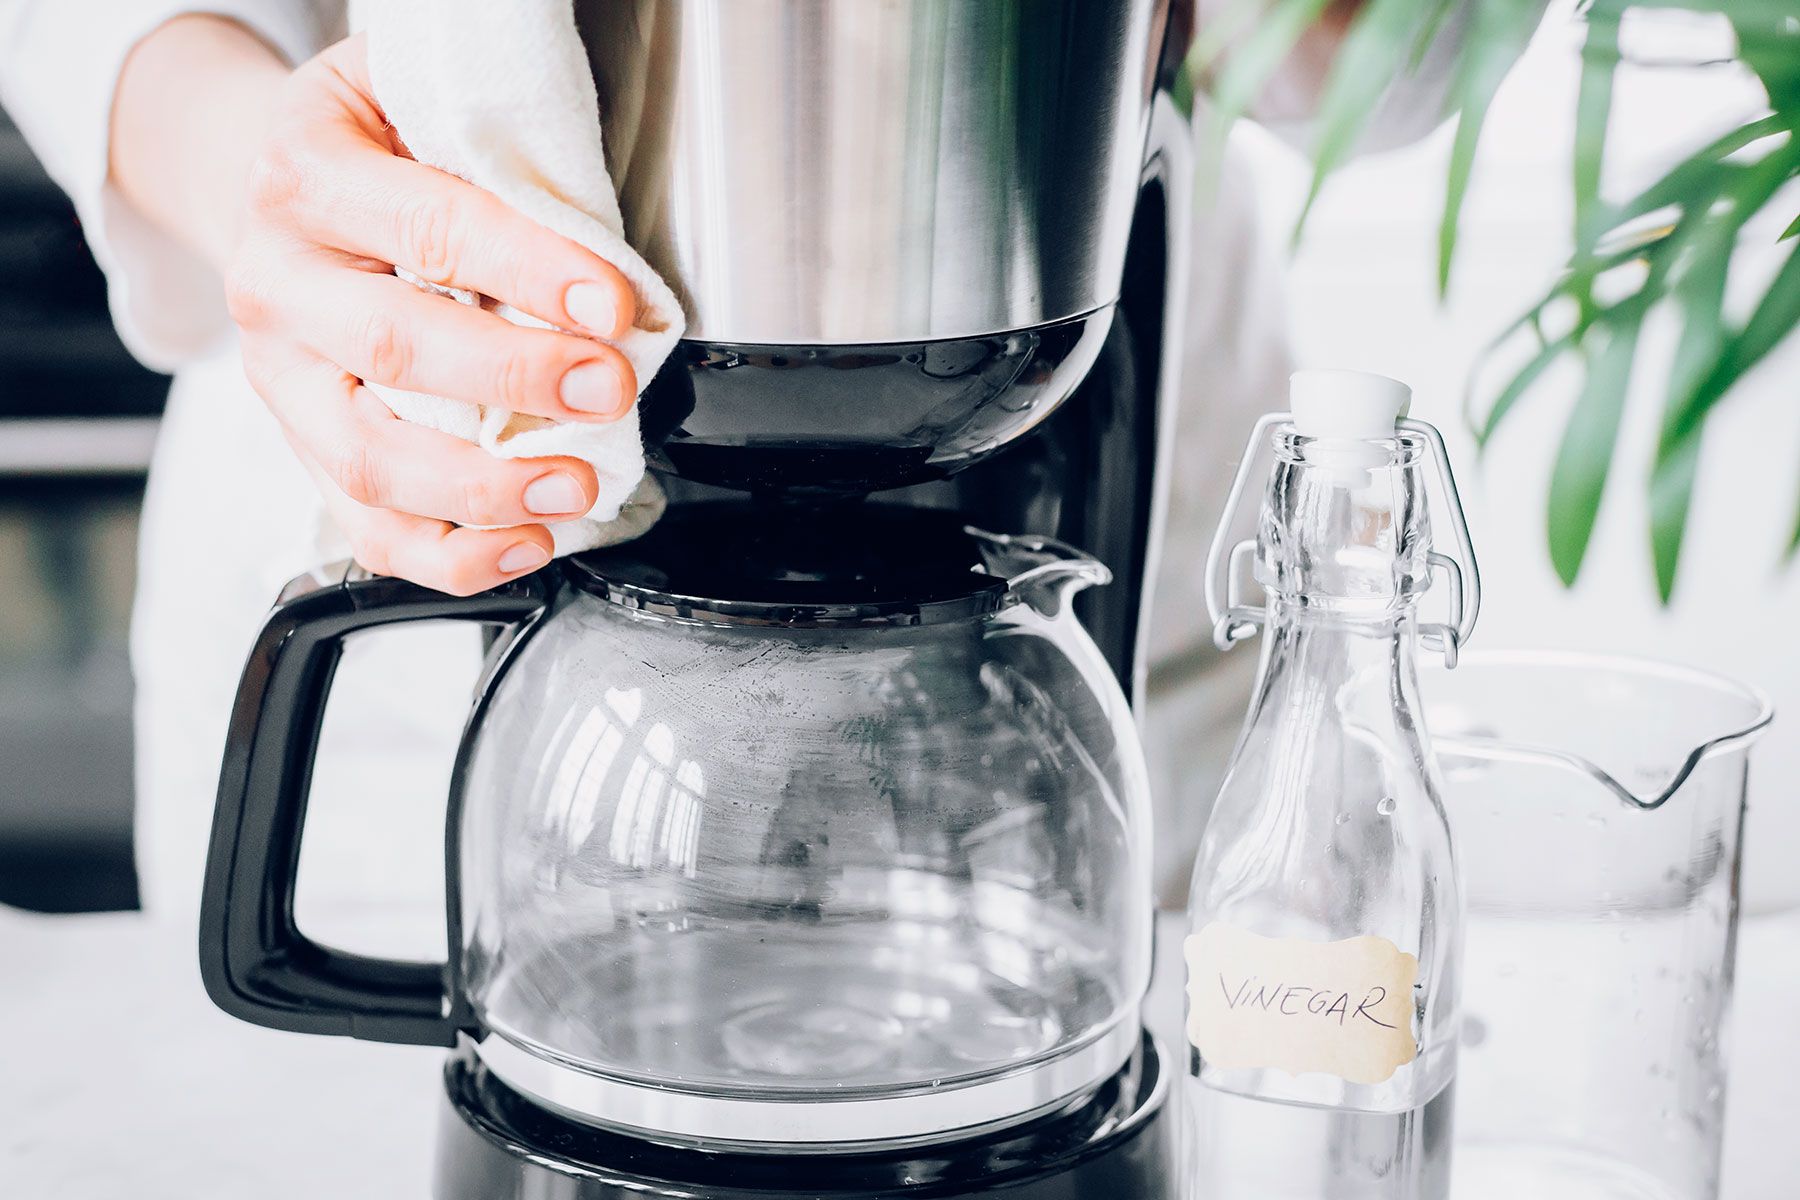
Cleaning with vinegar is one of the most effective and budget-friendly ways to eliminate bacteria and buildup inside your coffee maker machine. I will explain how to clean your coffee maker using vinegar in this article.
Benefits of Vinegar for Cleaning
Vinegar works wonderfully as a coffee maker cleaner. Not only is it inexpensive, but it also provides many benefits over other cleaning products.
Vinegar is safe and harmless.
Vinegar doesn’t contain harsh chemicals that could damage the machine or ruin your coffee. Since it’s non-toxic, it won’t pollute your kitchen. Due to its acidity, it can remove stubborn residues and eliminate odors from water deposits’ oils and minerals.
Naturally kills contaminants and bacteria.
Cleaning with vinegar kills germs and bacteria without harming humans or pets.
This means that if someone drinks some of the liquid during the process, it won’t hurt them. Since vinegar disinfects naturally, this cleaning method doesn’t require detergent.
It’s an environmentally friendly option.
Finally, vinegar is eco-friendly and breaks down quickly, unlike chemical cleaners.
How to clean your coffee maker
Now that we have explored the benefits of vinegar for cleaning coffee makers, it’s time to start. To begin, you’ll need a few supplies.
- White distilled vinegar
- Large pot or container
- Soft cloth and brush
- Pair of gloves
- Paper towels
Begin by preparing the vinegar solution.
Fill your sink with warm water and add one cup of white vinegar for every gallon of water. Then mix two tablespoons of baking soda into the solution until it dissolves completely.
Disassemble the coffee maker.
Disassemble the coffee maker’s water reservoir, carafe, and filter basket. Remove brew baskets, lids, and other removable parts. Lay out each piece so you can remember how to assemble it.
Submerge each part of the coffee maker in the vinegar solution.
Put on some gloves if desired, then carefully submerge each part of your coffee maker into the vinegar-baking soda solution: carafe, filter basket holder, lid, and filter paper (if applicable).
Let it sit for an hour.
Allow these pieces to sit for at least an hour or more before removing them from their bath. This will give the liquid ample time to loosen up any built-up grime inside and outside each piece.
Rinse components with water.
After soaking for 30–60 minutes, wipe each component with a soft cloth or sponge. Before reassembling your machine, rinse each part with warm water to remove the solution.
Reassemble the coffee maker.
Start by making sure everything is dry and free from vinegar residue. If there’s still a slight odor, try wiping each piece with a damp cloth before you begin reassembling the machine.
Testing and troubleshooting
Start by pouring water into your machine’s reservoir until it reaches the fill line, then turn on the power switch and wait for a few minutes.
Something is wrong if you don’t hear any noise or see steam coming from the carafe after about five minutes.
Check to make sure all connections are secure, such as between the power cord and outlet or between the heating element and its housing unit.
Also, check for obstructions in the filter basket or lid. If everything looks okay, but nothing happens when you press ‘brew’, try unplugging and replugging your machine in again – this often does the trick.
Conclusion
Cleaning your machine with vinegar effectively removes limescale buildup inside your brewer and keeps it running smoothly.
This ensures great coffee and optimal equipment performance.