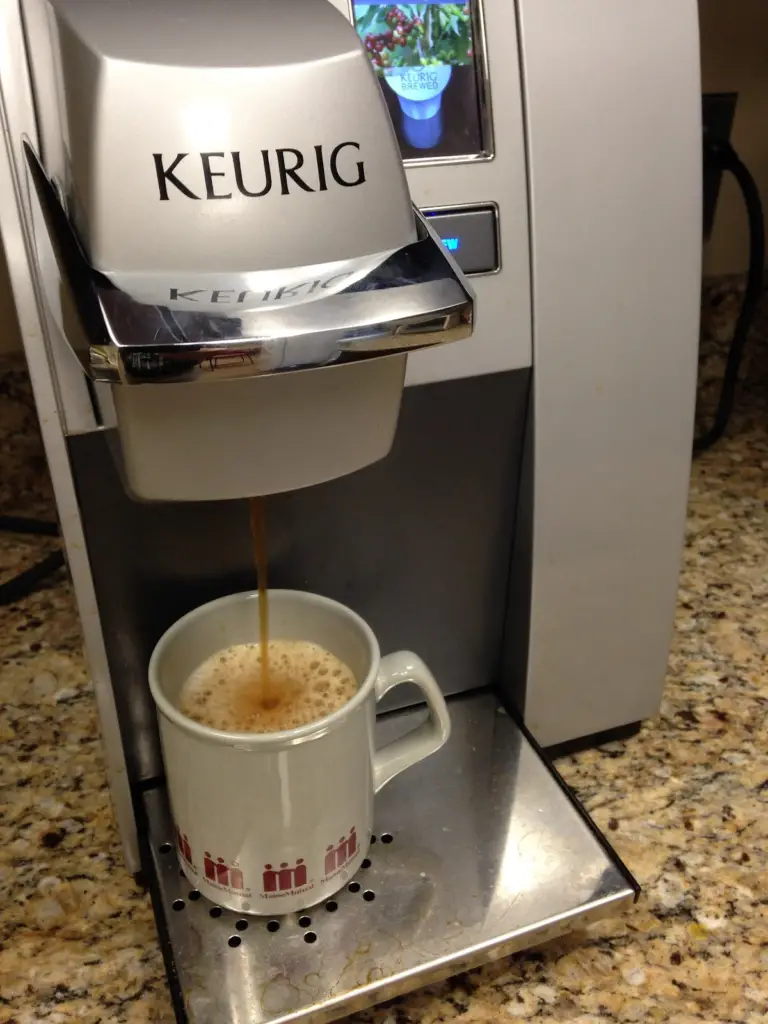
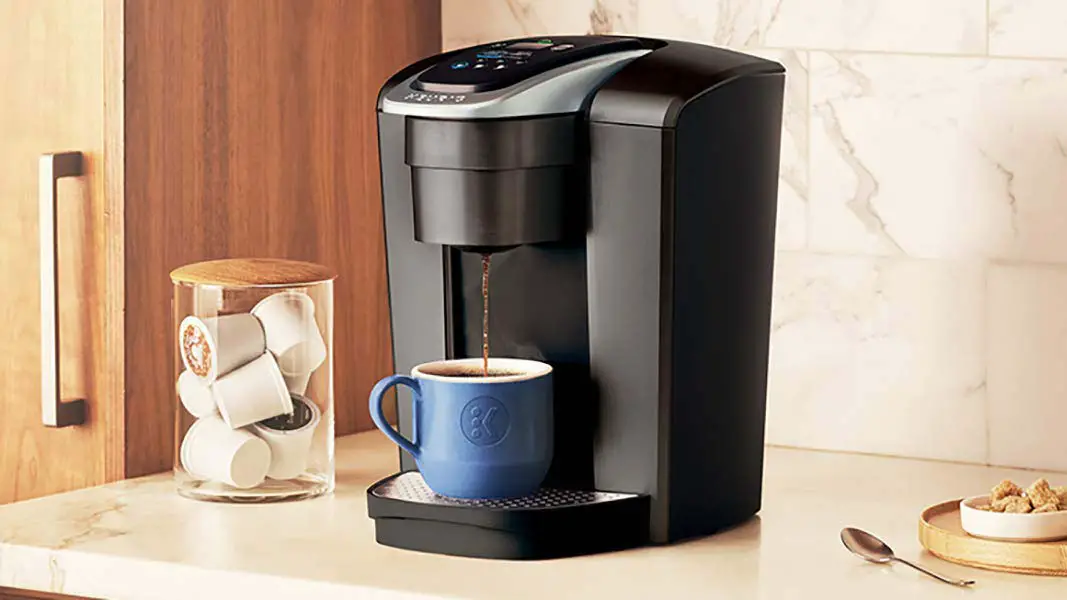
Did you know that roughly 74% of Americans consume coffee on a daily basis? If you’re a serious coffee drinker, you probably have a Keurig at home.
The quality of your coffee and the longevity of your Keurig both depend on how often you clean it.
That’s why I’m here to help: I’ll give you some pointers on how to quickly and easily clean your Keurig Coffee Maker so that you can keep it in top working order and enjoy freshly brewed coffee whenever you like.
What is a Keurig coffee maker?
A Keurig coffee maker is an advanced single-cup brewing system that uses pre-packed plastic K-Cup pods to make fresh coffee or other hot beverages.
It’s convenient because you don’t have to measure grounds or boil water. Insert your pod and press start. The best part? There’s no filter required.
How to clean your Keurig coffee maker step by step

Before cleaning your Keurig coffee maker, you’ll need to do some basic preparation.
If it was recently used, unplug it and let it cool. Next, remove the water reservoir and K-Cup holders. Wash and rinse these parts with warm, soapy water.
Finally, gather common household items like dish soap, white vinegar, baking soda, paper towels, and a soft cloth. Now you’re ready to start descaling your Keurig.
Descaling
Did you know Keurig recommends descaling the machine every 3-6 months? This is to ensure optimal performance and a delicious cup of coffee.
First, gather white vinegar, Keurig Descaling Solution, a large mug, and filtered water. After gathering these items, fill the reservoir with 10 ounces of white vinegar or Keurig Descaling Solution and 10 ounces of filtered water.
Then place the large mug on the drip tray and run two cycles without filling any K-Cups to flush the mixture through the system and remove any calcium deposits.
After two cycles, empty both reservoirs and refill them with fresh water. Run another cycle with plain water until the mug below has no residue. Your Keurig coffee maker is now descaled.
Cleaning the exterior of the machine
After descaling your Keurig, you can move on to cleaning the exterior. You can use a gentle cloth or paper towel, water, and mild soap to accomplish this.
Remove any visible dirt from the machine’s exterior by wiping it down. Take care not to leave any dust or debris behind that could make its way into the coffee machine.
When finished, wipe down the entire machine with a damp cloth. You might have to do this a few times before all traces of dirt are gone.
When you’re done wiping down the outside of your Keurig, it’s time to move on to the internal mechanisms and clean them thoroughly.
Cleaning the interior components and parts
Cleaning the interior components and parts of your Keurig coffee maker is a task that’s easier said than done. It feels like you have to take apart half of the machine just to get to them.
But, with some patience and determination, you can ensure this important step in maintaining your beloved appliance isn’t forgotten.
The first order of business is to disassemble the various components. This includes the K-cup holder, water reservoir cover, and drip tray. All of these must be removed before a thorough cleaning can take place.
So get a sponge or soft cloth and some soapy water, and start scrubbing away the grime and dirt that have built up on them over time. Remember to give everything a final rinse when you’re done, especially if you use soap.
Last but not least, give some thought to the Keurig machine itself. Examine the area that contains all the buttons, and then wipe it down with a cotton swab dampened in rubbing alcohol if you find any dirt or grime.
After that, move on to cleaning the brew chamber and K-cup holder for your preferred morning pick-me-up appliance’s best performance.
Cleaning the Brew Chamber and K-Cup Holder
Now that you’ve cleaned the various inner workings of your Keurig coffee maker, you can move on to the brew chamber and K-cup holder. Once every two weeks, or more often if necessary, thorough cleaning of these areas is required.
Here’s how:
- Start by removing any used K-cups from the K-cup holder and discarding them in a proper receptacle.
- Rinse out the K-cup holder with warm water and set it aside.
- Use a soft cloth dampened with warm soapy water to wipe down both sides of the brew chamber, making sure to get into all nooks and crannies, then rinse well with hot water.
- Check for any remaining residue, such as grounds or oils, in the area around where the K-cup goes; remove these gently using an old toothbrush or cotton swab dipped in vinegar.
- Dry off the entire inside of the brewer with a dry cloth before replacing the K-cup holder.
Once you’ve put the machine back together, it will function as intended. However, you may also want to try some natural methods to eliminate any lingering odours or aftertaste in your coffee.
Removing Odors or Aftertastes
Sometimes, after making a few cups of coffee in our Keurig machines, we may notice an unpleasant odor or taste that lingers.
The first step is to make sure that you rinse out the carafe or mug with warm water before each new brewing cycle. Rinsing it out helps eliminate any residual oils or flavors left behind from your previous brews.
If you have an empty K-Cup holder, fill it with hot water and let it sit for at least five minutes before emptying it. This will aid in the removal of any remaining brewed grounds as well as the loosening of any stubborn residue.
Finally, if you have persistent odors or tastes, try running several cycles of plain white vinegar through your machine without a K-Cup inserted. The vinegar’s acidity should neutralize any lingering odors and leave your brewer sparkling clean and ready to use again.
Keeping Your Keurig in Optimal Condition
First, wipe down any moisture from the exterior surfaces of your machine with a damp cloth or paper towel after each use.
This will help to keep mold and other contaminants from growing on its surface.
Furthermore, unplugging the machine when not in use can extend its life and protect against electric shock hazards.
Always refer to your instruction manual before attempting repairs or troubleshooting problems yourself; many issues can easily be remedied without requiring an expert technician.
Regularly descaling the interior components of your Keurig is recommended, as calcium deposits can cause damage over time and hinder performance.
A good habit would be to follow through with this process at least once every three months, depending on how much you use it. Refer to your user guide for exact instructions on doing this correctly.
Last but not least, before starting the machine, ensure all hoses and pumps are securely connected and tightened if necessary.
Storing your Keurig Coffee Maker
The best place to keep a Keurig in your home is somewhere that doesn’t get too hot or cold and has plenty of ventilation. I would recommend finding a location with enough space around it, such as a kitchen countertop or pantry cupboard, where no other appliances will be nearby.
Avoid storing your machine on its side, as this can cause damage over time. Remember to unplug the power cord from the wall outlet and the brewer’s back when you’re finished with your machine for the day.
If you are gone for more than a week, consider turning off your water supply before you leave, if possible. This will prevent accidental overflows while you are away.
Finally, be careful when moving your Keurig coffee maker; never lift it by the handle, as it may break off! Instead, grip firmly and carefully under the unit’s base/bottom only, then move slowly to the desired location.
Conclusion
To conclude, cleaning your Keurig coffee maker is an important part of maintaining the longevity and quality of this machine.
Regularly cleaning your K-Cup holder with vinegar can help keep it free from bacteria and prevent clogging.
Using a brush to clean the interior components will also remove any buildup efficiently and effectively. Finally, properly storing your Keurig when unused will help maintain its performance.
FAQ
Is it safe to use vinegar to clean my Keurig?
Vinegar does offer several benefits as a cleaning agent, however – it will help disinfect your machine and remove stubborn stains and buildup from the sides and bottom of your brewer.
It’s also not as harsh or abrasive as other chemical-based cleaners.
